Thursday, December 30, 2010
Wednesday, December 29, 2010
Painting a test squad + some weapon teams
I decided to go for the 'base first - paint second' approach. I tested whether the individual figures remain accessible, and that seems to be the case, so I glues the figures and put some texture on using cork, grit and some vallejo sandy paste thats is way past its date. Seemed to work nonetheless. Here are the miniatures, after priming with Army Painter Army Green
Second step is the base colours. I used a mix of GW colors and Vallejo (FOW Range) but the FOW US set seems to have no para uniform green, so I mixed that up using catachan and green grey with a hint of knarloc green. I'll see how it looks once it's dry.
Back row is a leader (non marked as yet) and a bazooka team.
After getting some feedback I corrected the base colors of the weaponry, painted the boots in red leather, helmets in catachan (olive drab wannabe), and repaired some basing holes where a chunk of grit fell off. Then onto step three: washing everything with a dark brown dipping wash.
Fourth step involves painting on some detail, adding highlight to the uniform, using a khaki + 20% olive to get the typical off-khaki of the M42 airborne uniform. Or so I hope.
Here are the units after flocking, I though about going back in to correct some small details, you keep seeing stuff you can improve when you're painting through a 2,4x magnifier lens, but on the table I think they look just fine. Not bad for a first set.
Monday, December 27, 2010
Prepping US D-Day Paras
Here are all the para units, minus the infantry support weapons, cleaned up as well as I can without magnifying glasses. Before priming I'll do a second check under the mag lamp. I'm gonna prime in US Green.
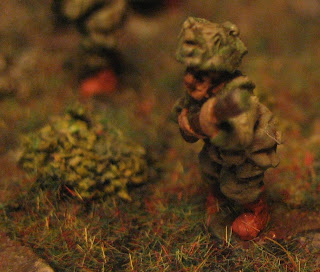
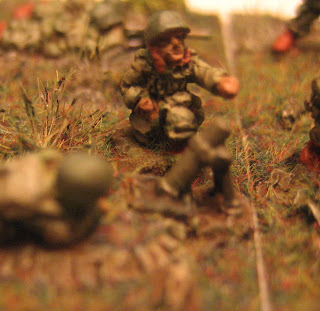
Detail of a para armed with a M1 para carbine. I wonder what is on the helmet. First aid kit?
Detail of a para armed with a M1 para carbine. I wonder what is on the helmet. First aid kit?
Sunday, December 19, 2010
German tank cards
I'm preparing everything to test the tank rules. I do not expect a lot of difficulties, although we will have to determine all the hit modifiers while testing: we will start with the following:
Range modifier: as indicated on To Hit Table
Size modifier: as indicated on tank card
Changing firing arc:
Normal turret: -1
Slow turret: -2
No turret: -4
Moving target ≤ 10 cm: -1
Moving target > 10 cm : -2
Dashing (defense fire, target start out of sight): -2
Partially visible: dice roll determines hit location
Wednesday, December 15, 2010
10 mm windows
I have acquired some windows from houses in HO scale that I have been using, and it kinda works, but I want to try and make my own. For this, I'll need a two part cast, and 10 mm windows are small! THe size I'm going for for a full size window is about 6x9 mm. That means the woodwork is made in 0,5 mm evergreen strips.
It took me the better part of an evening to finish one window, partially finish another (in another style) and finish one window frame, all of those without gap filling and sanding. On the plus side I have finally found a good use for my 5x magnifier glass.
It took me the better part of an evening to finish one window, partially finish another (in another style) and finish one window frame, all of those without gap filling and sanding. On the plus side I have finally found a good use for my 5x magnifier glass.
Not so brilliant mould
I tried to make a mould from a piece of wall with the exact size of a two floor terrace house, and although the borders are now a lot better than the first time around, I failed to notice a dent – not enough putty – in the stone texture. I’m gonna make some casts in ceramofix, zellane and resin to test the detail and smoothness, but after that, this mould is gonna go where all the others so far have gone: in the bin. That’s another 5 Euro. I’m gonna stop using the paste, and start using the liquid version, I expect better results with that, once I have found the perfect container to make moulds in.
Tuesday, December 14, 2010
Falaise Gap - BKC rules - 15 mm
This is the setup of the game. I'm playing the Germans, nearest, and have set up 2 Mortar units on the small mound on the right, intending to advance the third. Bad call to start with, I would have been better putting the FAO on the hill on the left, and the three mortars all together. On the other hand, that just might have attracted a bit more artillery.
Subscribe to:
Posts (Atom)


