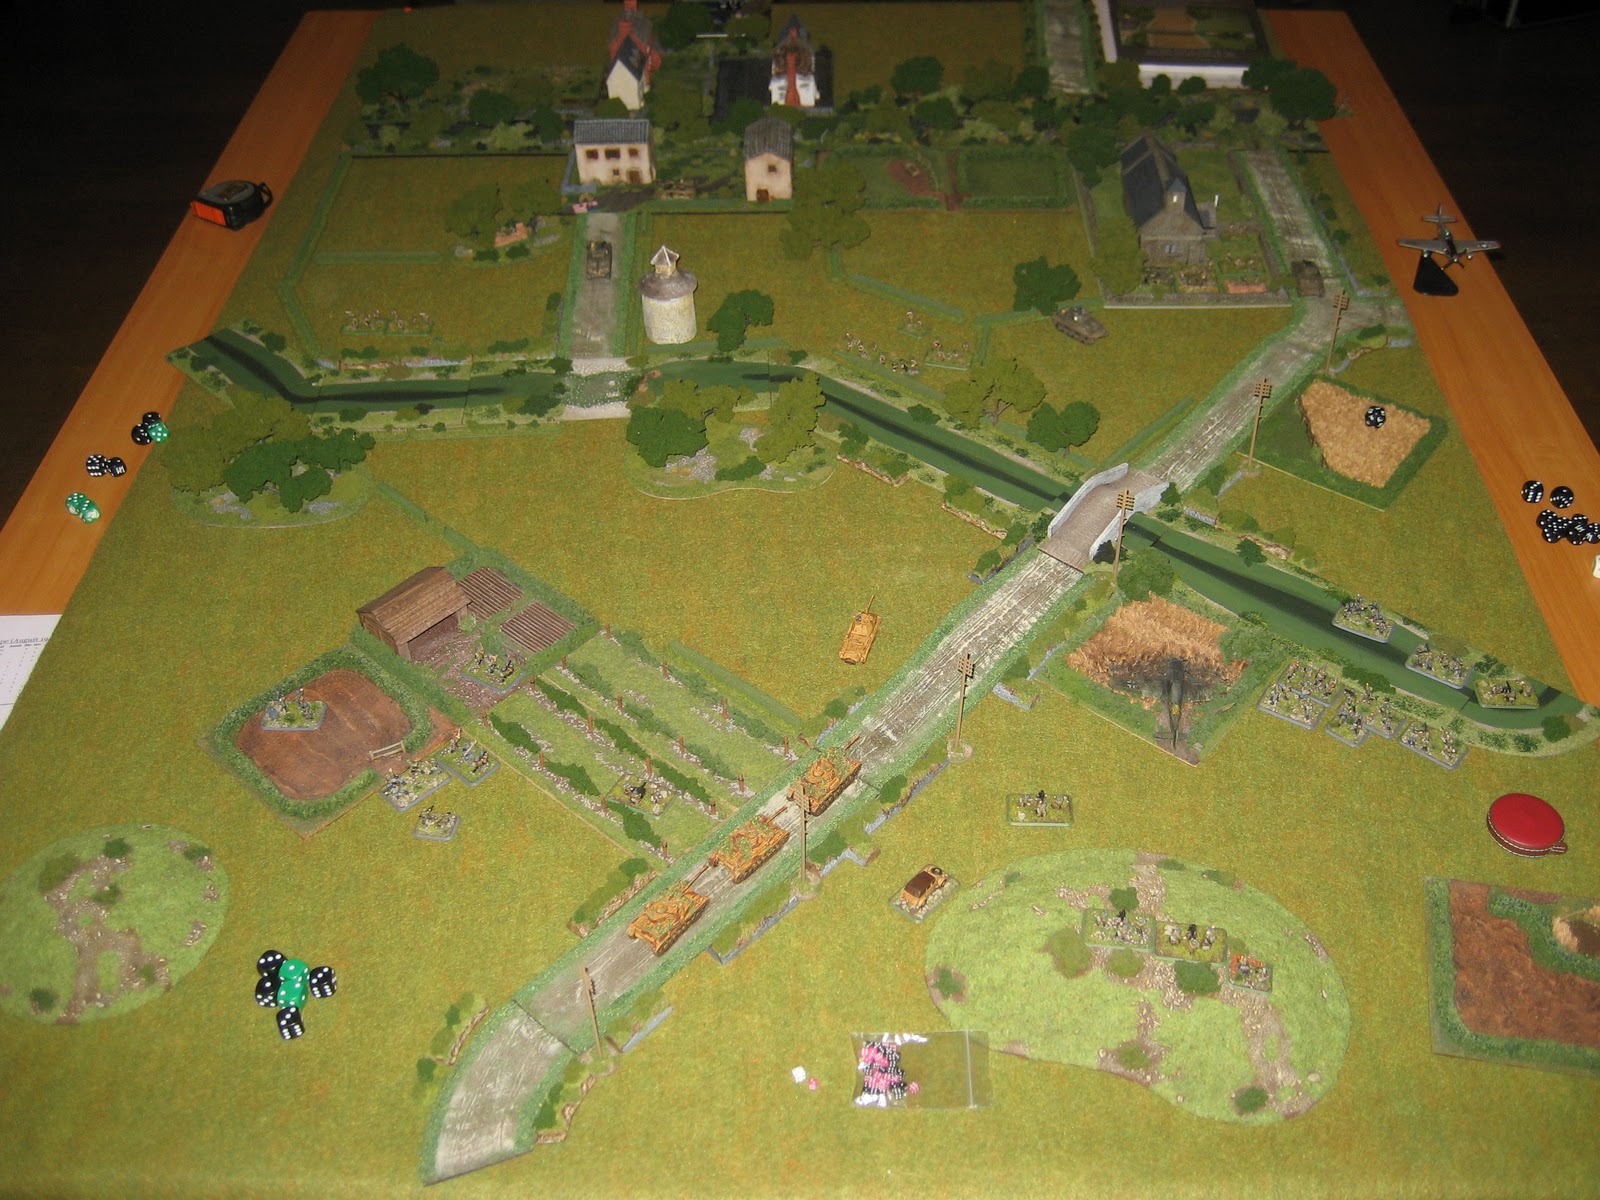
This is the setup of the game. I'm playing the Germans, nearest, and have set up 2 Mortar units on the small mound on the right, intending to advance the third. Bad call to start with, I would have been better putting the FAO on the hill on the left, and the three mortars all together. On the other hand, that just might have attracted a bit more artillery.
First turn just sees some infantry advancing. On the left through the vineyards the troops get spotted and shot at by enemy artillery. The troops on the right meet no resistance.
Second turn is similar: more artillery on the left, some german losses, and an unopposed advance on the right.
Third turn: the enemy has one minefield, location unknown. I think that since he is defending the bridge, he probably wants me to think that the ford is where the minefield is. So I decide to head my tanks over the ford to put some pressure on his left.
Turn four: Oh woe... the Puma gets blown up, and my lead PzKpfW IV g discovers the hard way that the minefield is on - and in front of - the ford. I lose two vehicles in one turn. The infantry advance on the left remains slow, because of the incessant artillery.
In turn five the advance comes to a standstill. THe right flank is still moving, but the enemy is concentrating all his troops in the area, and the advancing infantry faces 3 tanks, and a lot of infantry and support.
Turn six I decide to press over the bridge, hoping for a breaktrough, but plan B is allowing the right flank infantry to advance and contest the church, and to do so the US tanks must be entertained.
Turn seven I'm setting up the attack on the right. On the left, the troops finally advance into the open towards the river bank. The tanks at at the bridge now, poised to strike.
Turn eight I press forward with the tanks, with little success. The first tank is suppressed and hinders the second one. The left flank infantry gets suppressed again.
Turn nine sees the second Pz IV getting destroyed. Only positive thing is that the right flank infantry does manage to break through, sadly without the panzerschreck team.
On turn ten I'm still struggling at the bridge, and time is now starting to run out. An extremely efficient run of mortar fire cost the US several units, and all of a sudden the scales seem to balance. Two more units and the US need to check for breaking.
On turn eleven, the infantry on the left flank reaches the river and crosses, and the right flank keeps putting pressure on the troops defending the church.
Final turn: I manage to kill the two units needed for the US to break check, but I also pass my own break check during this turn when my last tank is destroyed. Still, it's my last turn, and only the US will have to still make the check, so all of a sudden I have a chance to get a decisive victory. Craig passes the break test though, and I lose the game on points, 3 to 1.
Really fun game, although in some respects the rules are clearly thought out for larger units. Mainly how tank combat is handled is too abstract when every model represents one actual tank. But that's why I'm writing S²OM anyway.


Rudy, it was a good game and very close right up to the last throw of the dice. I think the BKC rules are not to blame for the odd mechanics but probably more that we played a cut down version of the rules to try and keep things simple. Blame me, not the rulebook :-)
ReplyDeleteThanks for taking the time to take the photos and write up the after action report.
Cheers, Craig
http://www.ww2games.blog.co.uk
Yes, with me being a total newbie we had little choice but to simplify the rules a bit. At least it allowed us to have a great game, without too much delay, which is impressive if you think about how it was all new to start with. That in itself is definitely a sign of a well thought out ruleset.
ReplyDelete